
Picture the tailgate of a line truck at the first pole of the morning. The strand is up, the anchor rod is set, and the crew foreman holds a coiled dead end guy grip that has to become the termination. What that grip does for the next twenty years gets decided in the five minutes before the wrap starts.
When buyers send photos to RaxPower asking whether a grip will match their strand, the answer comes down to three field details. The diameter window, the color code, and the lay direction decide almost every mismatch. This guide stays on those details — where the crossover marks sit, how the legs travel, and which findings scrap a grip before it takes tension.
Read the Grip Before It Leaves the Truck
Dead end guy grip selection is not a catalog puzzle. It is a two-minute checklist beside the tailgate, and it starts before the packaging comes off the legs.
Read the identification tag first. On a guy dead end the tag shows the catalog number, the conductor diameter range, and the nominal conductor size, which makes it the fastest cross-check against your strand order. A grip with a missing or unreadable tag has no verified window, so it has no place on the strand.
The Tag Is the Spec Sheet
Confirm the wire family while you are there. Guy grips are manufactured from galvanized steel, aluminum-coated steel, or aluminum-clad steel wire, often complying with ASTM A 855. The material selection typically matches the strand to ensure compatibility, which is the same pairing logic whether the strand is galvanized or aluminum-clad.
Grade and coating decide which catalog row a strand lands on. MacLean’s DE-S line, for example, covers every strength grade of galvanized guy strand, utility through EHS, and forms each grip from Class B galvanized steel wire. A strand of the same nominal size can sit in a different row once the grade or the coating changes, so read the row, not just the fraction.
Two Colors, One Window
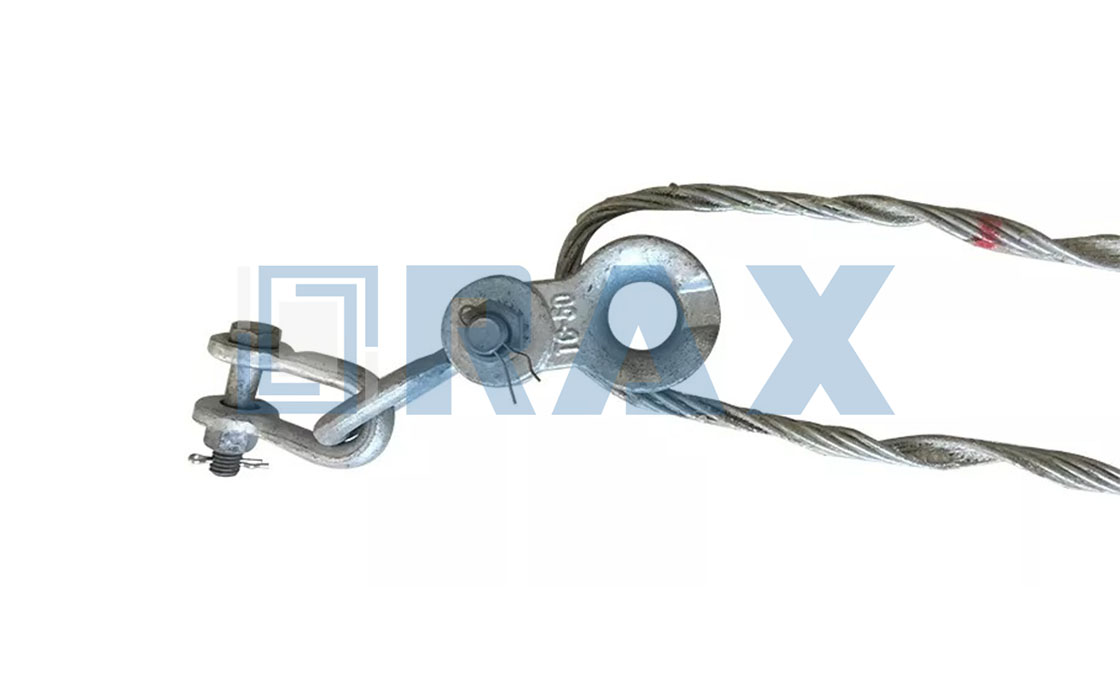
Catalogs identify size by color. MacLean Power lists a cross-over mark color A and color B for every DE-Series row, and AFL notes that its dead ends are color coded on both legs. Matching that color pair against the catalog line confirms the strand diameter and grade the grip was built for. A leg with no color band is a reason to stop, not a reason to guess.
Match the Diameter Window to the Measured Strand
The heart of dead end guy grip selection is a narrow numeric window, not a nominal size. A 1/4 in EHS grip in the DE-S series covers a mean diameter of 0.248 to 0.256 in. The 3/8 in model starts at 0.370 in and stops at 0.378 in. The distribution side runs the same way: model DG-4541 handles 0.229 to 0.257 in with a 17 in length and orange coding.
Caliper the strand itself, a few feet back from the end, and rotate the reading to follow the lay. If the number lands outside the printed window, the grip stays in the truck. Treat that reading the way you would treat a socket: close is still the wrong size.
| Strand size | Diameter window (in) | Applied length (in) | Cross-over mark color |
|---|---|---|---|
| 1/4″ EHS | 0.248 – 0.256 | 25 | Yellow / Yellow |
| 5/16″ EHS | 0.307 – 0.315 | 31 | Black / Black |
| 3/8″ EHS | 0.370 – 0.378 | 35 | Orange / Orange |
| 7/16″ EHS | 0.433 – 0.441 | 38 | Green |
Applied length grows with the window. The same catalog climbs from 25 in on the 1/4 in grip to 38 in at 7/16 in, and those legs have to travel the full distance on your strand.
That climb is not cosmetic. Applied length is the wrap coverage the catalog assigns to each size, and the window is the fit tolerance around the mean diameter. Together they tell you how many turns the leg will make and how tightly those turns can seat against a strand of your measured size.
Lay Direction Decides How the Legs Wrap
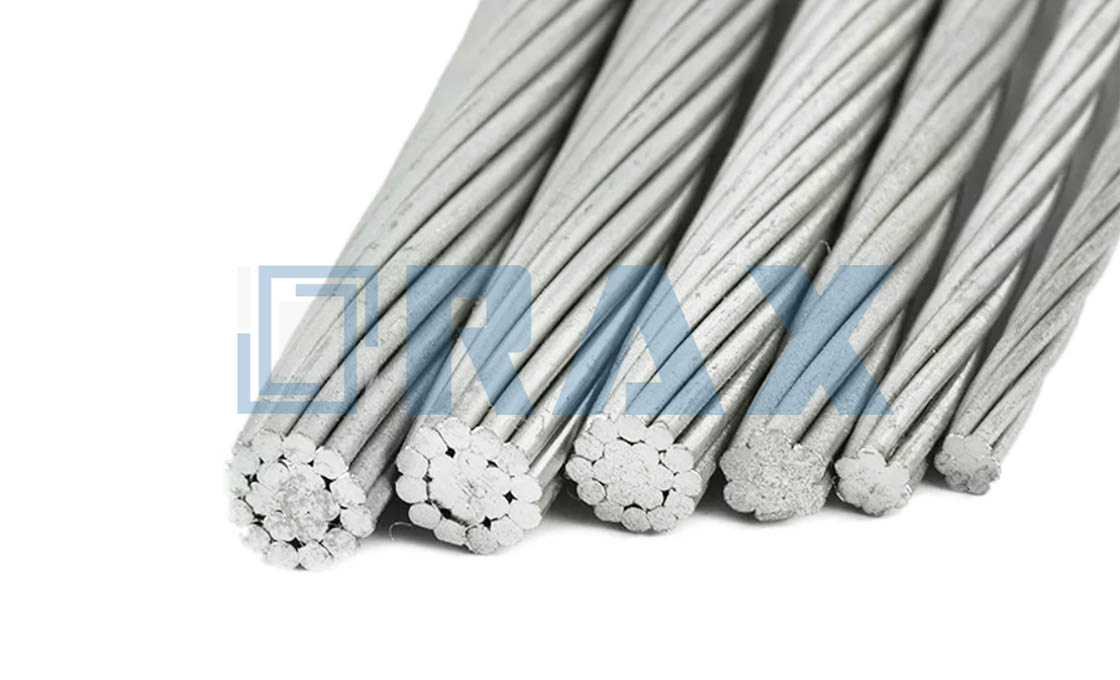
Before anything touches the pole, read the helix. Grips ship in left or right lay constructions to match strand lay direction, so a mismatch is visible while the grip is still in your hands.
Manufacturers default to one side. AFL specifies that, unless otherwise specified, all its dead ends and guy strand are left hand lay. Check that your strand runs the same way before the first turn goes on.
The check costs seconds. Hold the grip beside the strand and see whether both helices lean the same direction before the packaging is discarded. Crews who make that glance a habit never explain to a supervisor why the wrap looks crossed at the third turn.
The legs have to travel with the strand’s own helix rather than across it. A grip laid against the lay never seats cleanly, no matter how much tension the crew adds later.
Start the Wrap at the Crossover Marks
The start line is printed on the product. AFL documents that the color code and crossover marks identify the conductor size and indicate the application starting point, which removes the guesswork about where the wrap begins.
Set the cabled loop over the attachment hardware first, then bring the crossover marks square to the strand at that starting point. When the marks sit square, the rest of the wrap has a fair chance of finishing square.
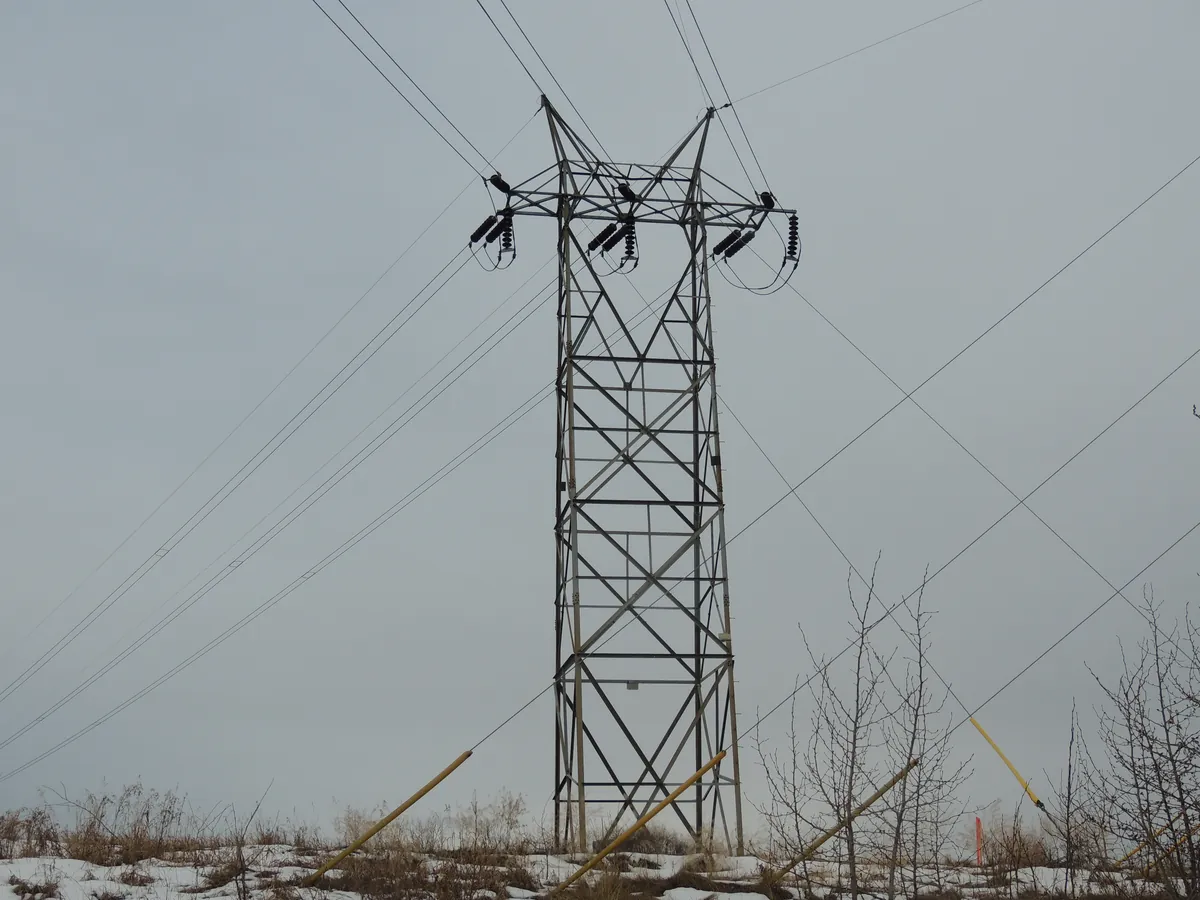
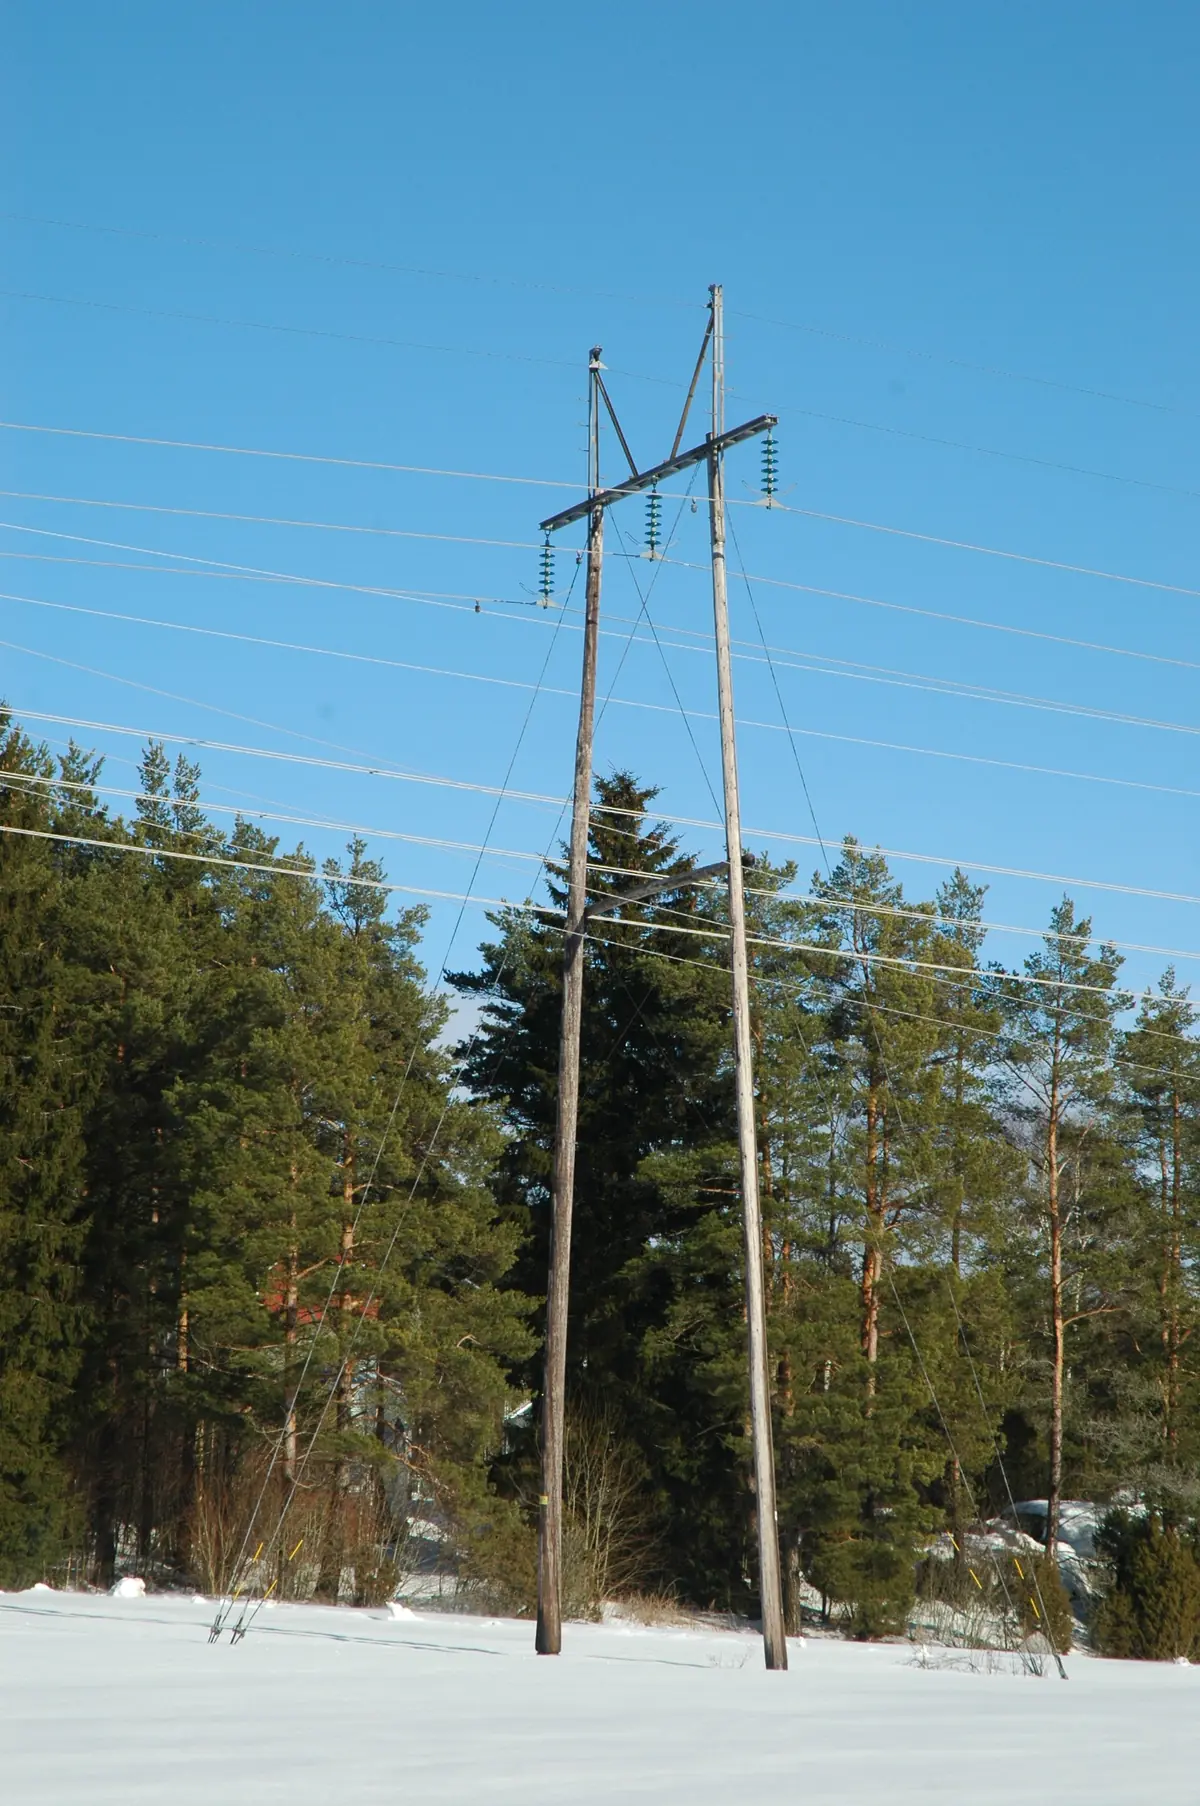
Field structures reward that discipline. A guyed dead-end pylon stays symmetrical only when every guy terminates the same way, and symmetry starts from the first turn at the marks.
Apply Both Legs From Mark to Tips
Work the legs down the strand with the lay, a few turns at a time, keeping every turn snug against the strand and against its neighbor. Nested turns are what make the grip read as one sleeve instead of a stack of loose coils.
The design intends hand work. A dead end grip eliminates bolts, nuts, and washers, so installation goes by hand in most applications. The applied length tells you exactly how far the legs should travel before they stop.
The tips are easier than they look. AFL builds offset tips into the dead end because, toward the end of the installation, the tips are easier to handle and wrap around the cable. By the time the tips tuck in, the grip should show no raised or crossed turns anywhere along the leg.
Hands stay the tool of record. If a leg kinks mid-task or a turn refuses to nest, stop and retire the unit instead of forcing the wrap. A dead end is cheap next to the strand it protects, and a forced turn keeps its damage hidden until the guy is loaded.
Seat the Cabled Loop and Tension the Guy
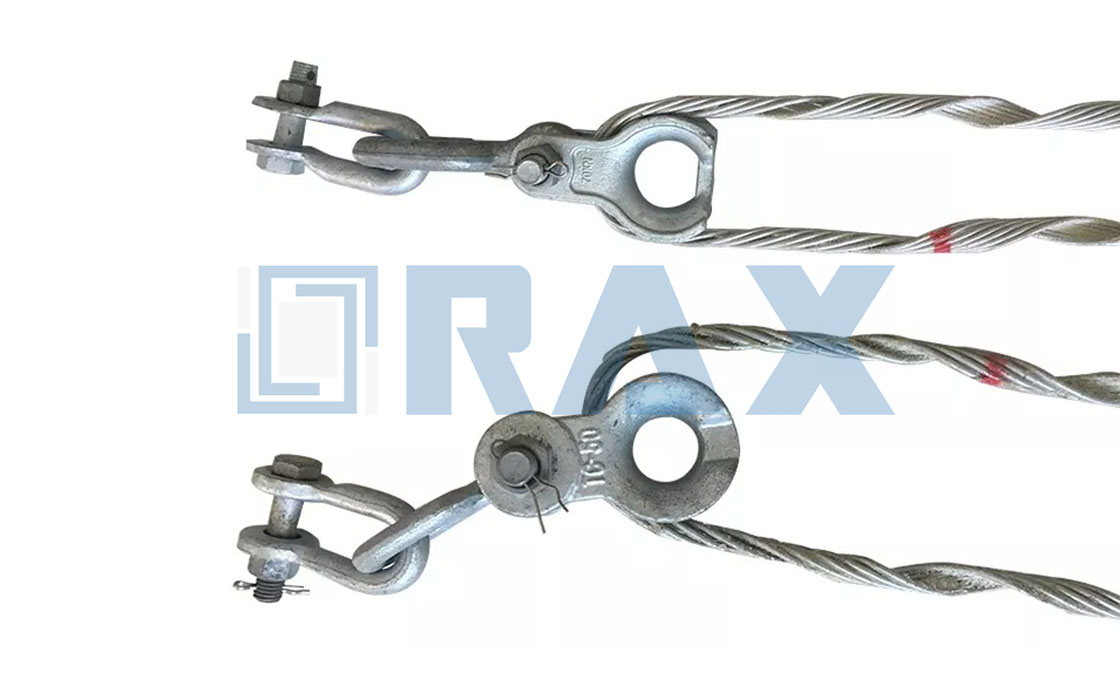
The loop end arrives ready-made. Guy dead ends are manufactured with a cabled loop for all strand sizes, so the loop takes a thimble and a shackle without any field bending.
Seat the loop fully in its thimble groove, pin the shackle, and bring the guy to design tension. Once in place, the dead end holds its grip whether the strand is relaxed or in tension. Applied to a matched window, the grip develops the strand’s published rated breaking strength.
Check the Finished Wrap Before You Release
Walk the wrap once before the crew rolls. Thirty seconds at the pole costs less than one callback, and every item on the list is visible from the ground with a look and a hand.
- Every turn nested and snug from crossover to tips, with no raised or crossed wraps.
- The color pair on both legs still legible, and the crossover marks square to the start point.
- The loop centered and seated in its thimble groove, with the shackle pin secured.
- Full applied length used: tips tucked in, no stubs standing off the strand.
Retensioning has rules too. Guy dead ends may be removed and reapplied twice after initial installation to retension the strand. One that has spent three months in service comes off once — and goes to scrap, not back on the strand.
In our experience, the crews that log the caliper reading and the color pair at install time settle retrofit disputes years later at a glance. A finished installation that documents itself is the cheapest inspection program on the line.
Plan a second look once the guy reaches design tension. A fresh termination settles under first loading, and the walk that catches a moved turn today is the one that never writes a callback report next season.
Scrap Red Lines at the Installation Stage
Some findings do not get a second opinion. Treat every dead end guy grip as a holding device, so any defect that touches the wrap geometry or its identity retires the unit on the spot.
Storage feeds this stage more than crews expect. Grips that rode loose in a truck box until the tags tore off arrive unverifiable, and an unverifiable grip fails this checklist before the strand ever sees it.
When Removal Is Mandatory
- Removed after three months of service: the rule is replacement with a new dead end, not reapplication.
- A leg with a broken, kinked, or corroded rod does not go up, whatever the tag promises.
- An illegible color code or missing tag fails the grip first, because the window can no longer be verified.
- A measured strand outside the printed window means a swap, never a force fit.
- Conductor-side distribution grips are single-use: not reusable after installation, and unsuitable for loose or annealed outer strands.
Application bans deserve the same bluntness. Distribution dead-end grips should not see overhead shield wires, anchor wires, high temperature conductors, or low-sag conductors such as ACSS. A strand-side grip belongs on guy strand in the galvanized steel or aluminum-clad family, not on whatever wire is convenient that day.
Where the Geometry and Strength Theory Lives
Two companion reads go deeper than this field guide. The geometry angle — helix parameters, applied length, and strand standards — is worked through in the preformed guy grip modeling walkthrough. The holding-strength side, from load transfer to material pairing, is covered in the distribution grip dead-end tensile strength guide.
Keep that theory next to this checklist and dead end guy grip selection becomes routine. Match the window, match the lay, start at the crossover marks, and scrap anything that fails the test. RaxPower supplies formed-wire dead ends across the galvanized, aluminum-coated, and aluminum-clad families, and the order desk that answers those photo questions stocks the sizes this guide covers. For strand standards behind the ratings, ANSI C119.4 and IEEE 1138 are the references the product pages cite.
Frequently Asked Questions
Where does the first wrap of a dead end guy grip go?
At the crossover marks. Manufacturers print the size on the color code and place the crossover marks at the application starting point. Square the marks to the strand before the legs begin.
Do dead end guy grips need special tools or torque?
No. The grip replaces bolts, nuts, and washers, so it installs by hand in most applications. Offset tips ease the final wraps around the strand.
How do I verify a grip matches my strand?
Check three items: the tag’s printed diameter range, the color pair, and the lay direction. Caliper the strand and confirm the reading falls inside that window.
When must a removed guy grip be scrapped?
Strand-side guy dead ends may be reapplied twice for retensioning, but one removed after three months of service should be replaced. Conductor-side distribution grips are not reusable after installation.
What holds the grip in place after the guy is tensioned?
The nested helical wraps maintain their hold whether the strand sits relaxed or under tension. Verified turns and a seated cabled loop keep that condition true.