
Представьте столб в переулке, куда полноценный поперечный кронштейн не поместится: провода уходят только в одну сторону, и вся консольная балка висит на своём креплении. Правильная установка распорки бокового кронштейна не даёт боковому кронштейну вращаться, провисать или смещаться с линии под нагрузкой проводников. Если распорка установлена правильно, она десятилетие служит тихо и незаметно; если плохо — это крепёж, к которому бригаде придётся возвращаться снова и снова.
Со стороны производителя этого крепежа важны два фактора: дисциплина посадки и качество покрытия. RaxPower производит оцинкованный горячим способом опорный крепёж с 2003 года, и более 170 специалистов, стоящих за линейкой продукции, работают в системе менеджмента качества ISO 9001 при гальванизации по стандарту ISO 1461. Данное руководство излагает последовательность монтажа так, как объяснил бы прораб: где располагается распорка, какой крепёж устанавливается первым и что нужно проверить, прежде чем спуститься с опоры.
Где распорка расположена на боковом кронштейне
Боковой кронштейн меняет путь передачи нагрузки. На обычной промежуточной опоре деревянный поперечный кронштейн расположен по центру столба, а его плоские распорки работают парой. Боковой кронштейн крепится к одной грани столба и выступает консолью, неся проводники там, где полноценный кронштейн не поместится. Именно поэтому его используют в переулке и на ограниченных участках правоустройства.
Распорка является counterpartом этой консоли. Она идёт от боковой стороны кронштейна вниз к опоре, удерживая геометрию под углом 45 градусов. Большинство конструкций предусматривают приварную заступу для линейщиков, благодаря чему одна и та же распорка служит ещё и рабочей площадкой на опоре.
Почему нельзя просто поставить более толстый кронштейн? Потому что консоль умножает каждый фунт нагрузки проводника в скручивающий момент у лицевой грани столба, и одна древесина не справляется с этим рычагом. Распорка преобразует скручивание в прямую линию сжатия, которую столб выдерживает хорошо.
Каталог alley arm компании MacLean является общепринятым справочником для таких распорок, и в нём конструкция описана в одну строку. Распорка выполняется из оцинкованной стали, болтом крепится к боковой стороне кронштейна и анкерными болтами фиксируется к опоре под углом 45 градусов.
“Крепить к alley arm с помощью машиностроительного болта и присоединять к опоре с помощью (2) анкерных болтов 1/2 дюйма через отверстия 9/16 дюйма.” — MacLean Network Solutions, спецификация распорки alley arm
| Справочная модель | Длина | Монтажное отверстие | Уголок |
|---|---|---|---|
| J1522 | 5 фут | 9/16 дюйм | 1-3/4 × 1-3/4 × 3/16 дюйм |
| J1525 | 7 фут | 11/16 дюйм | 1-3/4 × 1-3/4 × 3/16 дюйм |
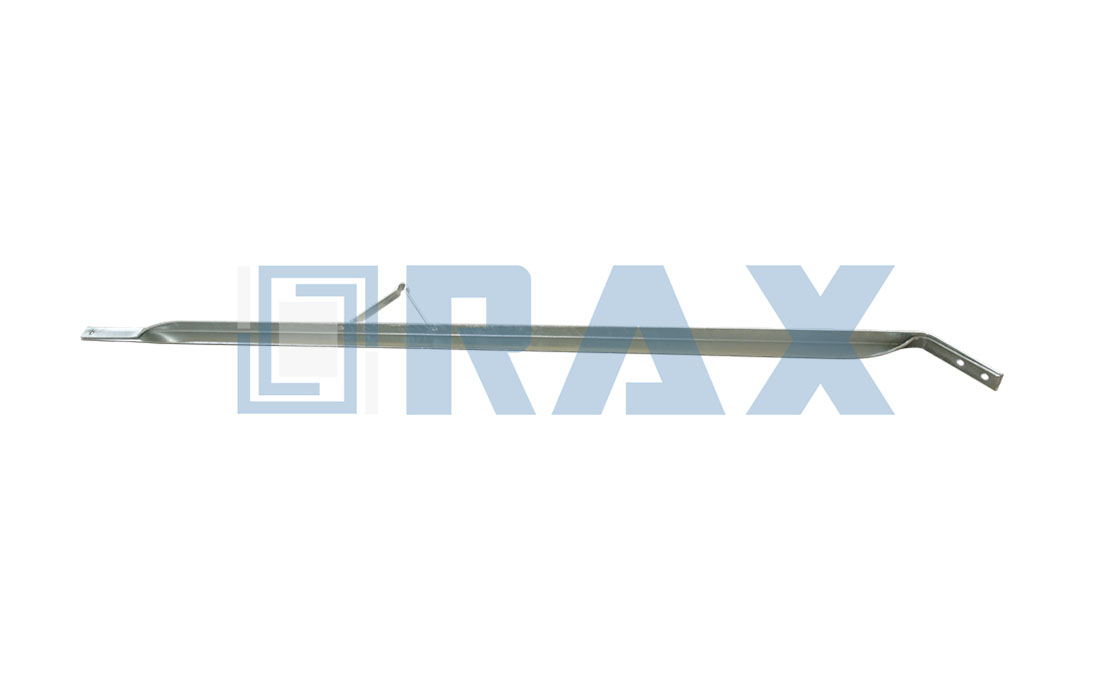
Размер отверстия — это та деталь, которую нужно подтвердить до того, как что-либо покинет грузовик. Распорка длиной 5 фут требует отверстий 9/16 дюйм, а распорка длиной 7 фут — отверстий 11/16 дюйм, поэтому комплектующие в грузовике должны соответствовать чертежу.
Перед подъёмом: подготовка и контрольный список фурнитуры
Когда в расписании стоит замена бокового кронштейна в переулке, всё просчитывайте на земле. Монтаж распорки alley arm решается до того, как кто-либо покинет уровень земли: разложите фурнитуру на ровной поверхности и пересчитайте. Одна распорка, один машиностроительный болт с гайкой и шайбами, и два анкерных болта 1/2 дюйм достаточной длины для полного захода резьбы в опору.
Список инструментов достаточно короткий, чтобы перевозить его на альпинистском поясе.
- Ключ или головка, подобранные под гайку машиностроительного болта, а также ключ для совмещения отверстий.
- Дрель со сверлом для предварительного отверстия, типоразмер которого соответствует стандарту энергокомпании для анкерных болтов 1/2 дюйм.
- Молоток для посадки шайб и уровень для проверки положения кронштейна.
- Рулетка для подтверждения длины распорки и расстояния между отверстиями согласно чертежу.
Осмотрите сам кронштейн до того, как начнёте монтировать фурнитуру. Треснувший или повреждённый погодой кронштейн выйдет из строя вне зависимости от того, насколько хорошо посажена распорка. Та же логика распространяется на линейку электрических поперечных кронштейнов, поскольку распорка работает только тогда, когда поддерживаемый ею элемент исправен.
Сначала прикрутите распорку болтом к кронштейну
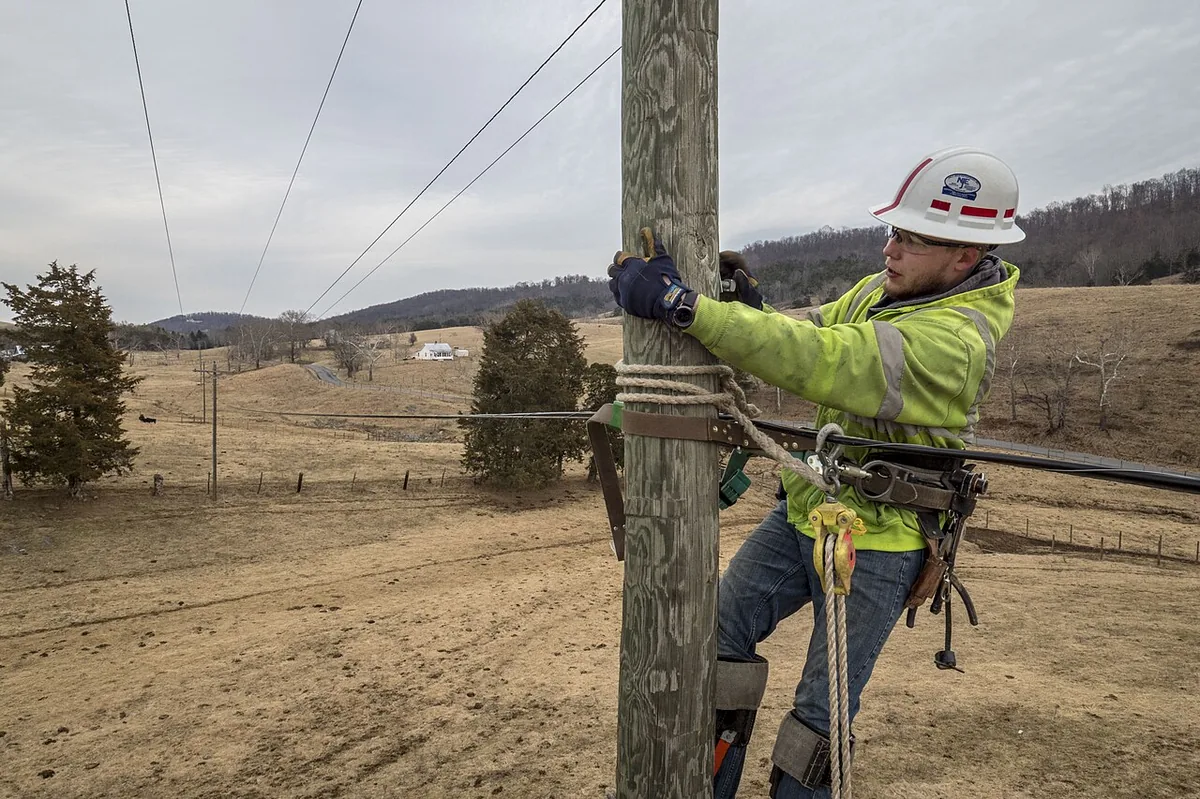
Последовательность здесь важнее силы. Прикрутите распорку к кронштейну, пока обе детали ещё в ваших руках, чтобы машиностроительный болт можно было начать ровно, а распорку оставить достаточно свободной для покачивания.
The arm-side connection is a single machine bolt through the side of the arm and the matching hole in the brace. A washer under the head and the nut spreads the clamp load so the bolt does not crush wood fibers as it takes tension.
Hole alignment decides how cleanly this goes together. Start the bolt through the brace hole first, tap the shank with a hammer until it marks the arm, then drill or drift the arm hole directly off the mark. A bolt started crooked wallows its hole over time and the connection works loose in service.
Some specifications put a larger 5/8-inch bolt at this position, so read the brace drawing rather than assuming one size. What stays constant is the order: arm first, pole second, because the brace must hang free to find its angle.
Задайте угол и зафиксируйте распорку анкерными болтами к опоре
With the brace swinging on its arm bolt, the pole connection becomes a geometry task. Swing the brace until it reads 45 degrees to the pole, then mark both lag screw positions through the steel.
Powertelcom’s engineering guide calls 45 degrees the most preferred angle of alignment between the alley arm and the pole, and the physics agree. At 45 degrees the brace resists both the downward sag of the cantilevered arm and the pull along the line.
Drill lead holes for the two 1/2-inch lag screws where the wood calls for them. Lead holes are commonly drilled in harder species, and practice varies by wood and utility standard.
Lag length is the quiet variable. The screw must pass through the brace and the steel-to-wood gap, then bury enough thread in the pole that the shear plane sits in the wood, not at the interface. Hold a candidate lag against the assembled brace and check that purchase before committing.
- Hold the brace at 45 degrees and mark both lag holes through the steel.
- Drill lead holes where the standard requires them, square to the pole face.
- Start both 1/2-inch lag screws by hand so the threads catch true.
- Drive or wrench each lag until the washer seats flat on the steel.
- Confirm the lineman step faces the climbing side before final tightening.
Two lag screws, not one, is what makes this fitting work. The pair stops the brace rotating around a single fastener, and the published specifications are explicit that the pole side gets two.
Плотно versus туго: практика крепления, которая держится
Treat the connection the way you treat a car wheel: snug in stages and re-check later. Bring the machine bolt and both lags to snug first, confirm the 45-degree geometry has not drifted, then take each fastener to final tightness.
How tight is final? Tight to the manufacturer’s specification. No published torque figure exists for alley arm brace installation, and inventing one invites crushed wood at the arm or stripped lag threads in the pole.
In our experience, the crews with the fewest callback failures are the ones who stop at snug, look at the geometry, and only then wrench.
Проверка соосности перед тем, как спуститься с земли
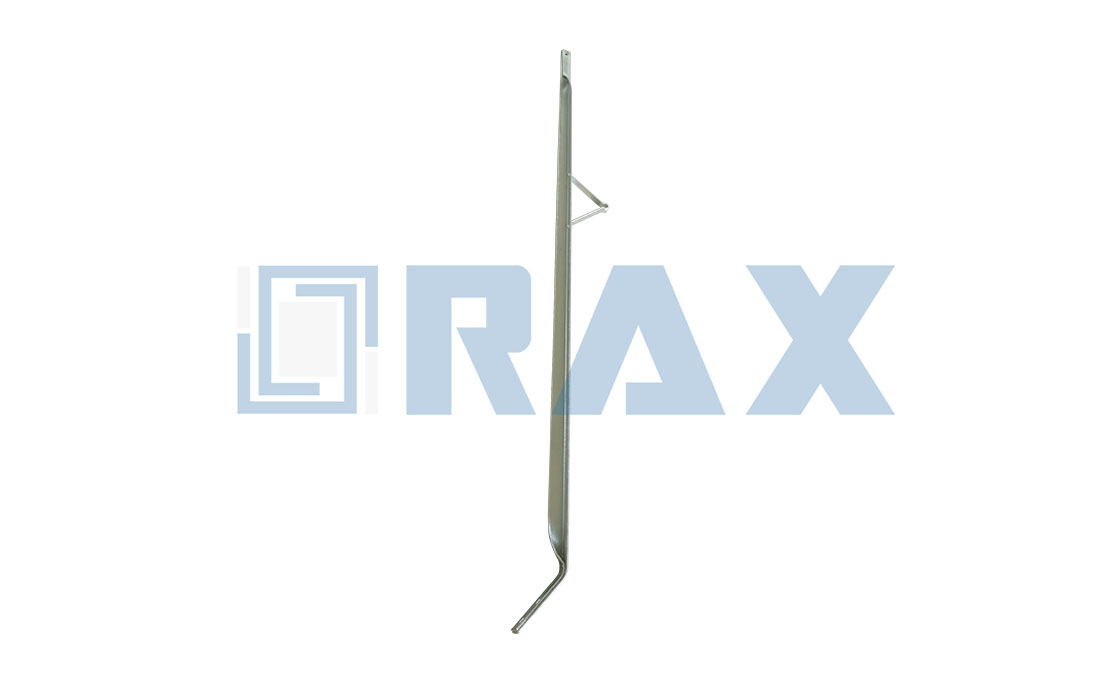
Before the ladder moves, run four checks at the pole. They take two minutes, and together they turn alley arm brace installation into a routine rather than a judgment call.
- Level: the arm reads level across its length with the brace tensioned.
- Angle: the brace still reads 45 degrees after final tightening.
- Engagement: both lag washers sit flat on the steel with threads fully engaged.
- Line: conductors leave the arm spools without sideways pull on the structure.
One check belongs on the ground. Walk back until the whole structure is in view and sight the arm against the pole line. A side arm that looks true at the pole can read a few degrees off from fifty feet.
Типичные ошибки монтажа при строительстве бокового кронштейна
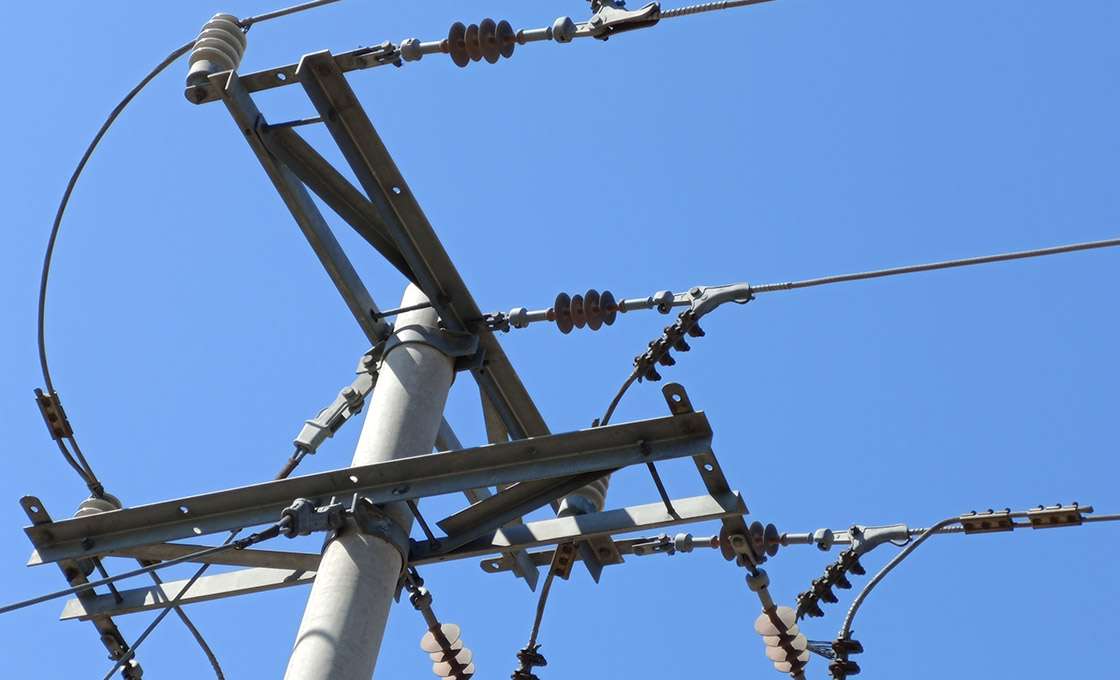
Most failures trace back to a handful of repeat errors. Each one is avoidable with the checklist above.
- Substituting a flat crossarm brace. Flat braces are a different family: 7/16-inch holes for 3/8-inch crossarm bolts, no lineman step, and the wrong geometry for a cantilevered side arm.
- Driving lags without lead holes in dense wood. The split starts below the surface and shows up as a backed-out screw a season later.
- Reversing the sequence. Lag the pole first and the brace can no longer swing to 45 degrees at the arm; the crew then forces the geometry and fights the hardware.
- Overtightening the arm bolt. Crushed fibers mean lost clamp load over time, which is why the manufacturer’s specification governs rather than arm strength.
- Ignoring step orientation. A welded lineman step that faces away from the climbing side gives nothing back at the next visit.
- Reusing a bent brace from the truck bed. The factory-set angle is the part; once bent, the brace will not repeat its 45-degree geometry.
Every one of these mistakes shows up in the finished geometry. The arm sags, the brace hums in the wind, or the step faces the wrong way, and a ground-level check would have caught all three.
Периодичность инспекций после монтажа распорок бокового кронштейна
When the crew has left the alley, the inspection rhythm takes over. A check right after energization, then again during routine pole patrols, keeps the fitting honest for its service life.
- Lag screws have not backed out and washers remain flat on the steel.
- The arm bolt keeps tension and the wood shows no new crushing.
- Galvanizing stays intact at the bolt holes with no creep of white rust.
- The 45-degree angle has survived wind and conductor movement.
Frequency depends on environment more than on the hardware itself. Coastal air, de-icing salt, or industrial fallout argue for shorter patrol cycles, while dry inland lines can run the standard schedule. What matters is that the same eyes see the same fitting each time, because drift is gradual and easy to miss between long gaps.
Any lag that backs out twice has stripped threads in the pole. The fix is a filled and redrilled position or a relocated lag, not another turn of the wrench. Braces that arrive bent from storage should be replaced rather than straightened, because the factory-set angle is what makes the geometry repeatable.
Часто задаваемые вопросы
Под каким углом должна устанавливаться распорка бокового кронштейна?
Установите распорку под углом 45° между боковым кронштейном и опорой. Производители, такие как MacLean, указывают 45° как стандартный угол монтажа, и это первое значение, которое проверяют эксплуатирующие организации при осмотре.
Чем крепится распорка к опоре?
Два винта диаметром 1/2 дюйма, которые устанавливаются через отверстия диаметром 9/16 дюйма в распорке. У моделей длиной семь футов отверстие 11/16 дюйма, поэтому подбирайте крепёж так, чтобы он соответствовал размеру отверстия на распорке, которую вы подвешиваете.
Какой болт фиксирует распорку к кронштейну?
Металлический болт продевается сквозь боковину опоры и совпадает с соответствующим отверстием в распорке. Шайба под головкой и гайка распределяют нагрузку, не врезаясь в дерево.
Нужны ли предварительные отверстия в опоре для анкерных болтов?
It depends on the pole wood. Lead holes are commonly drilled in harder species, and practice varies by wood and utility standard. Follow the governing construction standard before driving lags.
Насколько сильно следует затягивать крепёж распорки бокового кронштейна?
Snug the connection, confirm the 45-degree geometry, then tighten to the manufacturer’s specification. No universal torque figure is published for alley arm brace installation, so the specification and the utility standard govern.
Монтаж распорки бокового кронштейна: ключевые сведения вкратце
- Mounting angle: 45 degrees between the brace and the side-mounted arm’s pole.
- Arm connection: one machine bolt through the side of the arm, washer-protected.
- Pole connection: two 1/2-inch lag screws through 9/16-inch holes; 7-foot braces use 11/16-inch holes.
- Typical section: 1-3/4 × 1-3/4 × 3/16 inch hot-dip galvanized steel angle.
- Reference lengths: 5 ft and 7 ft (MacLean J1522 / J1525 sizes).
- Torque: no published universal figure; tighten to the manufacturer’s specification.
Уверенность на опоре зависит от последовательности
An alley arm brace rewards the same discipline as any pole top work. Know where the part sits, follow the arm-first order, respect the 45-degree angle, and verify the geometry before leaving. RaxPower has built hot-dip galvanized pole line hardware since 2003, and the fittings that last are the ones installed to specification rather than to habit.