
Stellen Sie sich den letzten Mast einer neuen Freileitung vor. Das Kabel kommt aus der Stützweite, und die Spannung der gesamten Leitung hängt jetzt an einem kleinen Keilspannverschluss am Mast. Eine Verankerklemme, oft als Keil-Typ-Spannklemme bezeichnet, greift das Kabel, hält diese Spannung und leitet die Last über ihre Öse in die Mastklammer. Diese Montageanleitung für Verankerklemmen führt durch die vollständige Sequenz für Niederspannungs-ABC-Bündel und isolierte Leiter, von der Vorprüfung bis zur Endinspektion.
Seit 2003 fertigt RaxPower Mastleiterbeschläge auf Warm Schmiedelinien. Die Feldnotizen hinter dieser Anleitung stammen direkt aus den Montagefragen, die Betriebsmannschaften und Leitungsvertragnehmer an unserem Ingenieurteam stellen. Die folgende Sequenz spiegelt wider, wie Verankerklemmen sich tatsächlich am Mast verhalten, nicht nur wie sie in einer Katalogzeichnung aussehen.
- Eine Verankerklemmen-Montage beginnt am Mast: zuerst die Klammer, dann die Klemme, dann das Kabel.
- Der Keil greift fester, je höher die Leitungsspannung steigt, daher gilt kein Drehmomentwert.
- Passen Sie die Klemme an den Isolationsdurchmesser des Kabels an und prüfen Sie den Keil vor der Belastung.
- Beenden Sie mit einer Serviceschleife und einer Handprüfung, bevor das Team den Mast verlässt.
Wie eine Verankerklemme eine Freileitung hält
Eine Keilspannklappe funktioniert wie das Spannen eines Ratschengurtes: Je härter die Leitung zieht, desto fester greift die Klemme. Leitungsspannung wirkt auf die Öse und zieht den Keil tiefer in das kegelige Gehäuse, sodass die Griffkraft mit der Last steigt statt nachzulassen. Diese selbstnachziehende Wirkung ist der Grund, warum diese Familie von Beschlägen LV ABC-Bündel und isolierte Leiter terminieren, ohne eine einzige Drehmomentangabe.
Drei Teile erledigen die Arbeit. Das Gehäuse, aus UV-beständigem Thermoplast geformt oder aus Aluminiumlegierung gegossen, trägt den kegeligen KeilkanaL. Ein oder zwei Keile pressen gegen die Isolierung des Kabels und nicht gegen blankes Metall. Die Drahtöse, mit isolierenden Stiefeln versehen, ist die Schleife, die die Baugruppe mit der Klammer verbindet und die volle Leitungszugkraft in den Mast leitet.
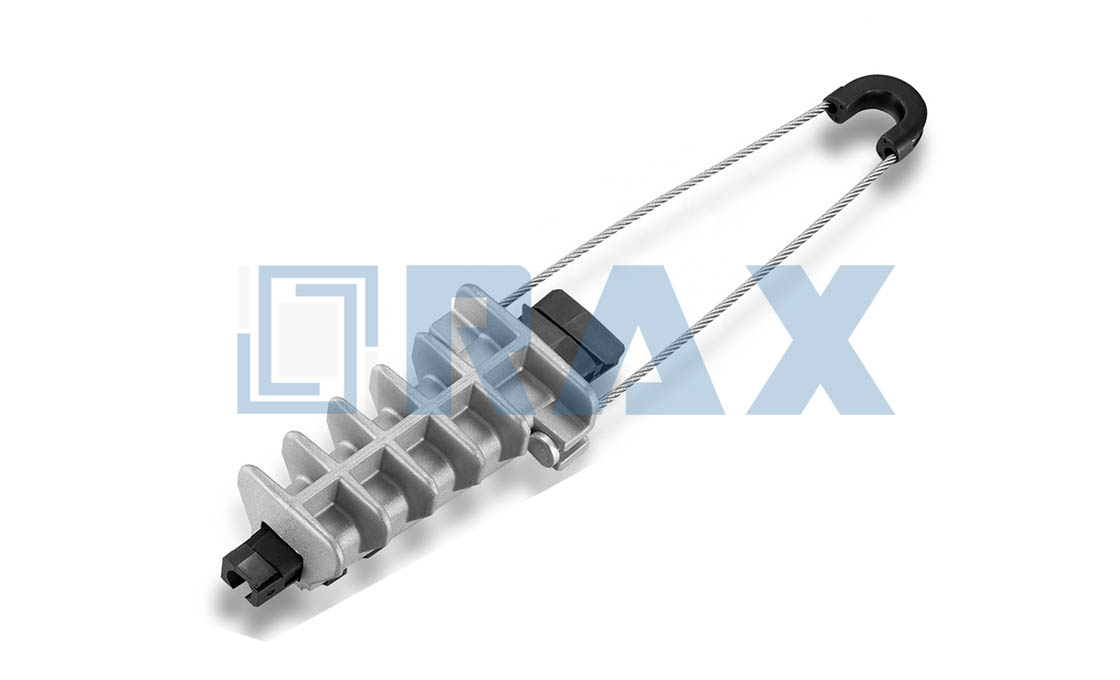
Wenn Sie zuerst den Komponentenhintergrund benötigen, behandelt die Anleitung zu was eine Ankerklemme ist die Klemmenanatomie im Detail. Der Rest dieser Seite bleibt am Mast: die praxisnahe Sequenz, die eine lose Klemme und eine Rolle Kabel in ein fertiges, prüfbares Totende verwandelt.
Prüfen Sie die Verankerklemme und das Kabel vor Beginn
Jede Verankerklemmen-Montage gelingt oder scheitert an diesem Schritt, bevor jemand den Mast besteigt. Ziehen Sie das Datenblatt für das genaue Klemmenmodell heran und bestätigen Sie, dass der Gesamtdurchmesser des Kabels, einschließlich Isolierung, innerhalb des angegebenen Bereichs der Klemme liegt. Eine Klemme, die über ein unterdimensioniertes Kabel gezogen oder an einem überdimensionierten angepasst wird, ist die häufigste Ursache für Rutschbeschwerden.
| Prüfen | Bestanden | Zurückweisen, wenn |
|---|---|---|
| Größenanpassung | Kabeldurchmesser im angegebenen Bereich der Klemme | Klemmengröße allein aus der Kernzahl geschätzt |
| Keilzustand | Zähne sauber, keine Risse oder Abschürfungen | Keil auf Beton gefallen oder von einem anderen Einsatz wiederverwendet |
| Gehäuse und Öse | Öse schwingt frei, Stiefel intakt | Gehäuse gespalten, Öse geknickt, Stiefel fehlen |
| Kabeloberfläche | Isolierung sauber und unbeschädigt an der Grifflänge | Abrieb oder verbrannte Isolierung im Keilweg |
Nach unserer Erfahrung wurden die meisten Klemmen, die im Einsatz durchrutschen, vor der Belastung beschädigt, nicht aber an der Leitung abgenutzt. Ein Keil, der über den Schalttafelboden gerollt ist, kann einsatzfähig aussehen und dennoch nicht greifen, also behandeln Sie gefallene Keile als Einwegteile und tauschen Sie sie ohne Diskussion.
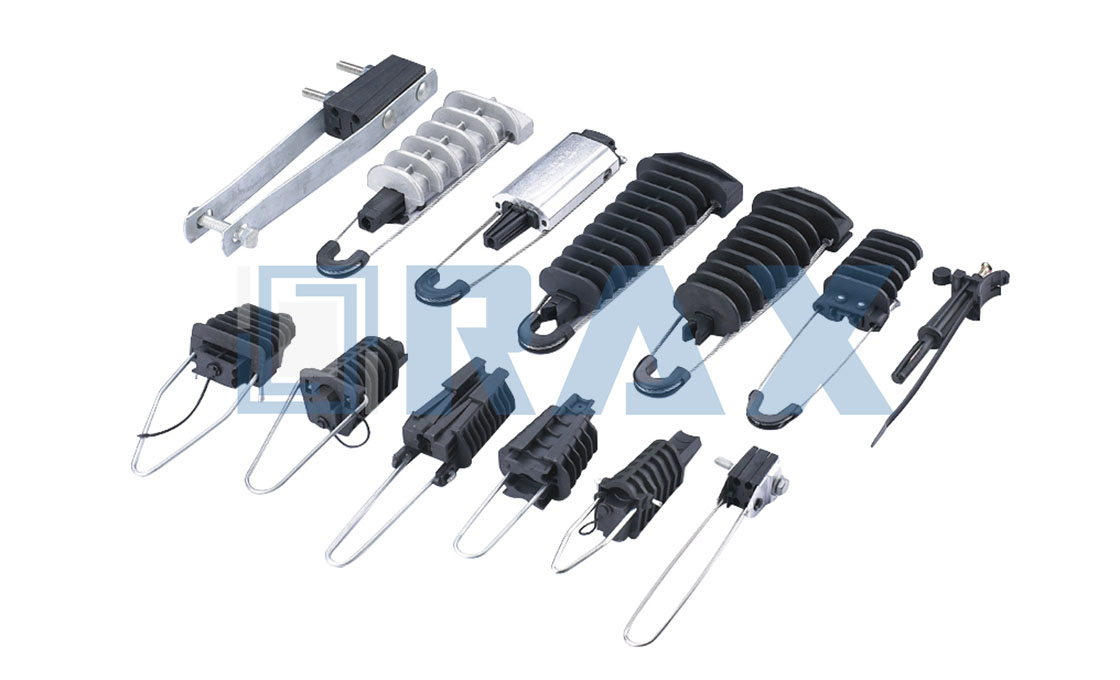
Also confirm the design intent at this point. Single-core clamps grip one insulated core each, so a four-core bundle needs a set, while bundle clamps close around the whole cable in one body. Mixing the two up mid-installation costs a second trip up the pole.
Montieren Sie die Klammer und hängen Sie die Klemme ein
Work from the pole outward. Fix the pole bracket or hook at the marked attachment height, using the fasteners and bolt torque your utility specification calls for. This hardware carries the same line load as the clamp itself. Standard brackets and hooks for this duty sit in the Mastleitungs-Hardware range and are ordered alongside the clamps, not improvised.
Hang the clamp on the bracket by its bail before the cable reaches the pole. Check that the bail sits fully home in the bracket groove and swings freely, because a clamp that cannot pivot will fight the span alignment instead of following it.
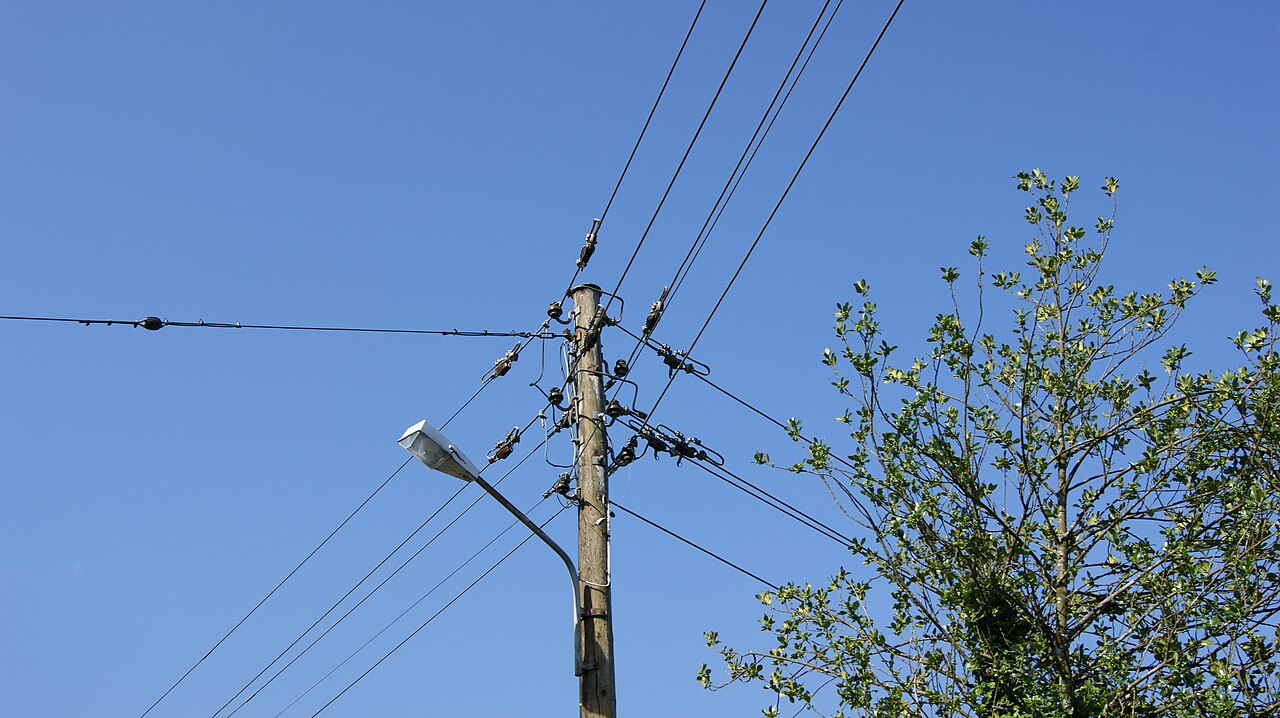
When the clamp hangs plumb and the bail sits fully home, the pole side of the job is finished. From here the work moves to the cable, and the wedge does the rest.
Führen Sie das Kabel ein und setzen Sie den Keil
Bring the cable up to the clamp and pass it through the housing in the direction of pull, leaving enough tail on the pole side to form the loop later. Slide the wedge into the housing behind the cable, tapered faces toward the clamp mouth, so that line tension pulls the wedge deeper rather than pushing it out.
On ABC bundles with a neutral messenger, position the cable as the clamp design intends, with the messenger taking the mechanical role where the datasheet calls for it. Keep the insulated cores out of direct contact with clamp metal. Never grip a section of cable whose insulation is abraded, because the wedge reads surface condition as much as diameter.
Seat the wedge by hand until it just nips the cable. A firm push is enough on a correctly sized set; if the wedge refuses to enter, stop and re-check the size match rather than reaching for a hammer.
Spannung aufbringen und den Keil selbstnachziehen lassen
Pull the span in with a winch and sock or gripping jaw until the sag matches the tensioning chart for the span, then let the clamp do its job. As load builds, the wedge draws in and locks, and the wedge reaches full grip without any threaded adjustment. This is the sharpest contrast with bolted dead-end hardware, where manufacturers typically specify tightening in the region of 20 to 35 Nm. A wedge clamp has no torque value at all.
For insulated overhead distribution, NF C 33-042 defines the characteristics and tests for anchoring devices on cables rated 0.6/1 kV, and it is the usual reference scope behind wedge clamp type approvals on LV insulated lines.
Watch the wedge during the pull. A correctly seated wedge draws in a short distance and then stops moving. A wedge that keeps creeping under rising tension is telling you the size match or orientation is wrong. Back off, unload, and restart the sequence instead of hoping the next increment of load will fix it.
Die Serviceschleife formen und das Ende fixieren
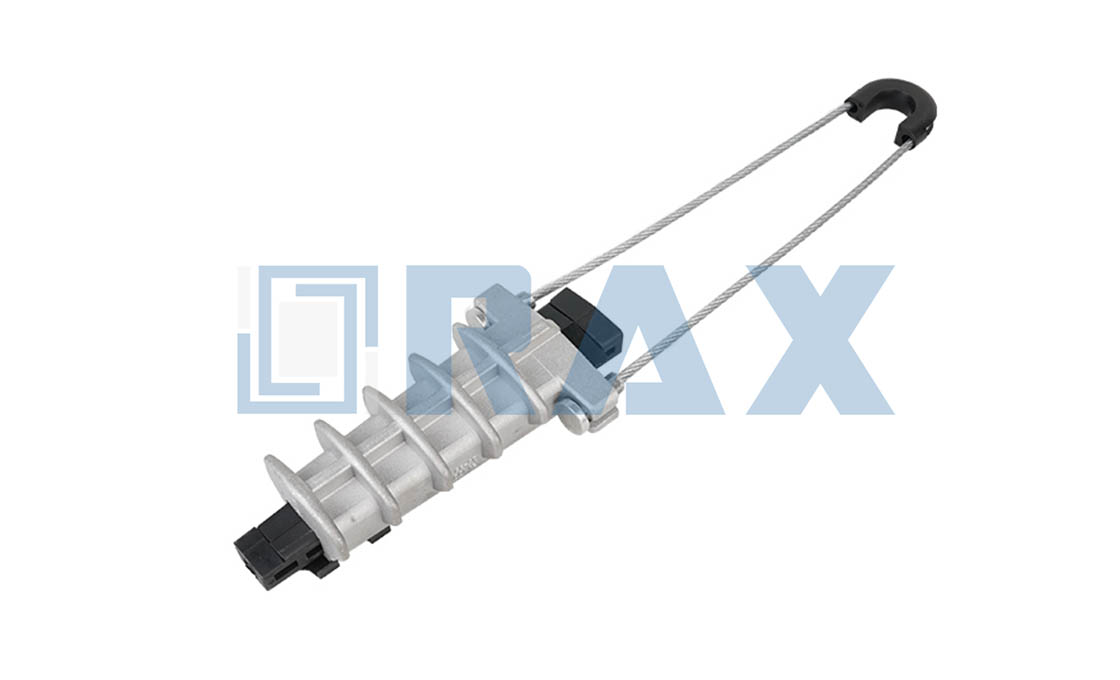
With the clamp holding, shape the cable tail into the service loop that the connection design calls for. The loop should reach the jointing point without stretch and without kinks, because a loop formed under corner strain will fight the connection hardware for the rest of its life.
Terminate the loop with the fittings your network standard prescribes, typically insulation piercing connectors on LV ABC bundles, which are grouped with the connector and splice range. Dress the loop clear of the bracket edge, close the clip-in retainers where the clamp provides them, and stand back to look at the finished geometry before leaving the pole.
Die Verankerklemmen-Montage am Mast prüfen
Acceptance takes about a minute when you know the four points. The wedge must sit fully home with no gap under its shoulder. The cable must not slide when pushed firmly toward the span. The bail must rest in the bracket groove rather than on its lip, and the loop must hang clear of the housing.
Run the same four checks after the first full tension, not only after the pull. Thermal and load changes in the first hours expose a set that was never fully seated. Log the span with the clamp model and cable type so the next crew inherits the pairing, not a guess.
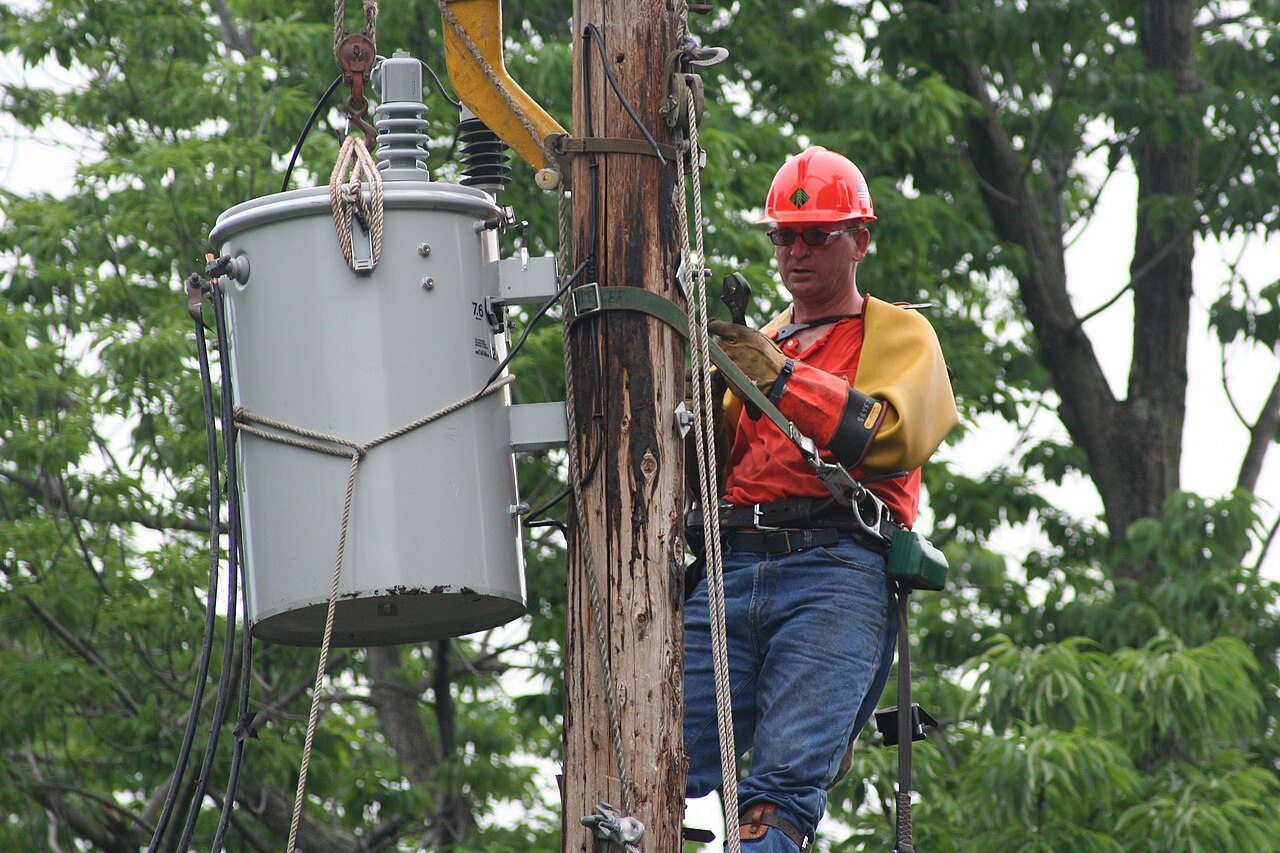
Photograph the finished dead end where your records allow. A dated photo settles most warranty and handover questions faster than any recollection of the day.
Häufige Verankerklemmen-Montagefehler, die Sie vermeiden sollten
Almost every field failure in this family traces back to one of five avoidable errors, and none of them costs money to prevent.
- Size guessed instead of checked. The clamp’s diameter window, not the core count, decides whether the wedge can bite.
- Wedge fitted backwards. Tapered faces must point toward the clamp mouth so tension jams the wedge; reversed, the same tension ejects it.
- Damaged wedge reused. A cracked or chipped wedge passes visual inspection from arm’s length and slips at half load.
- Insulation ignored. Grit or burned insulation in the wedge path reads as the wrong diameter under load.
- Tension borrowed from the wrong span chart. Sag and tension figures belong to the span, and over-pulling loads every fitting on the pole beyond its design point.
Feldwartung für Verankerklemmen im Einsatz
Once installed, the clamp asks for little. Inspection follows the utility’s normal pole cycle, with attention on wedge position, insulation condition at the grip, and corrosion on the bail and bracket. The manufacturer specifies modern polymer and aluminum clamp bodies for annual temperature swings from -60°C to +60°C, with service lives beyond 25 years. A replacement need usually means storm damage or line work, not ageing.
Reuse is a policy question, not a habit. Wedges that have carried full line tension are treated as single-use by most manufacturers because their gripping geometry deforms microscopically on the first pull. Housings and bails can return to stock after inspection confirms clean wedge channels and intact boots, but the honest default after an unknown service history is replacement.
Ein Totende, das beim ersten Mal richtig gemacht wird
A dead end rewards sequence discipline more than strength: bracket before clamp, clamp before cable, hand-seated wedge before machine tension, and a four-point check before the bucket comes down. RaxPower supplies the wedge type anchoring clamps, brackets, and connector hardware for this sequence as a matched set. ISO 9001 certified production keeps each batch inside the diameter windows its datasheet promises.
Häufig gestellte Fragen zur Verankerklemmen-Montage
Wie fest muss eine Verankerklemme sein?
Eine Keilverankerungsklemme hat keinen Drehmomentwert. Setzen Sie den Keil mit der Hand fest an, und lassen Sie dann die Seilspannung ihn von allein festziehen. Die Klemme ist eingestellt, sobald der Keil nicht mehr nachzieht und das Seil nicht mehr von Hand verschoben werden kann.
Warum ist meine Verankerklemme am Kabel durchgerutscht?
Slip usually traces to a size mismatch, a wedge fitted backwards, or a cracked wedge that passed pre-check. Pull the wedge, verify the clamp’s diameter range against the cable, fit a serviceable wedge, and re-tension the span.
Kann eine Verankerklemme nach dem Entfernen wiederverwendet werden?
Treat wedges as single-use once they have carried full line tension, because their gripping geometry deforms on the first pull. Reuse the body and bail only after inspection confirms clean channels and intact boots, and follow the manufacturer’s reuse policy.
Welche Norm deckt Verankerklemmen auf isolierten Leitungen ab?
NF C 33-042 covers anchoring devices for overhead distribution with insulated cables rated 0.6/1 kV. Match it against your own utility’s fitting specification before approving a clamp model for the network.
Wie viele Verankerklemmen benötigt ein Totende?
It depends on the span design. Bundle clamps close around the whole cable in one body, while single-core designs grip one insulated core each, so a multi-core dead end needs a set. Always follow the clamp datasheet and the line design.